fpv drone
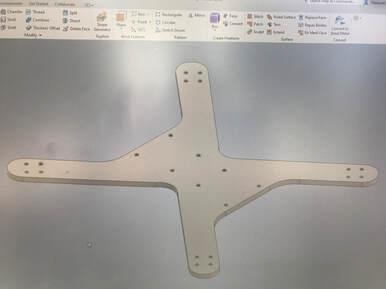
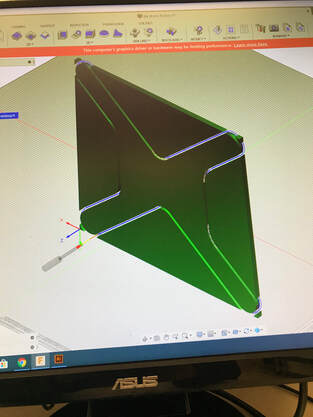
After I chose to make an Fpv drone and did some research I got to designing on the computer. I used inventor to create the parts for the drone frame and the two camera mounts. I had some trouble making the bottom part of the frame because the motor holes at the end of the arms needed to be the right spacing and the right angle to the arm. After a few attempts I got it right.
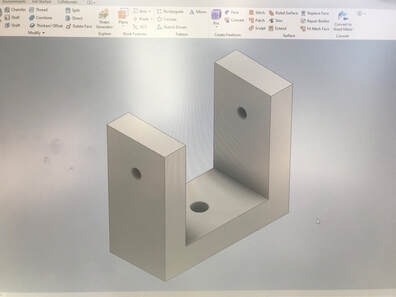
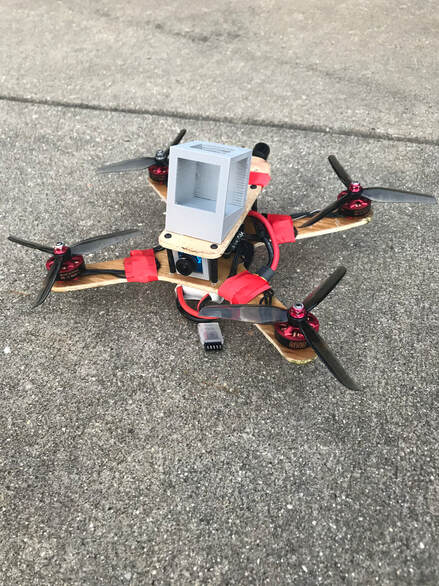
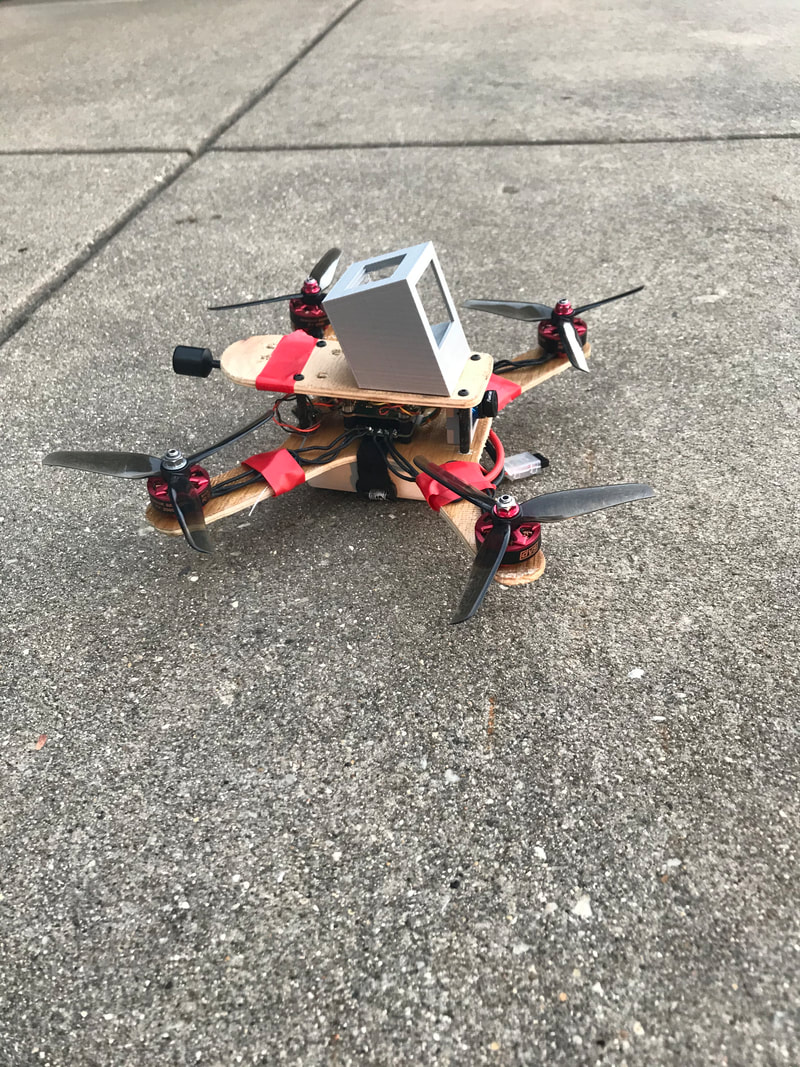
I made the gopro mount with some angle on the base because when the drone is flying forward it is also angled forward. If I left it flat the camera would just be looking at the ground.
|
|
|
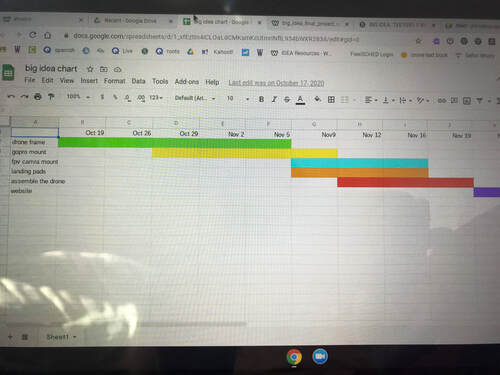
This is my timeline that I thought I would use to complete my project but after being out of town and other thins coming up I was put way behind of scheduled.
|
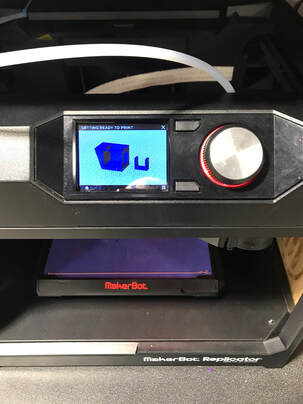
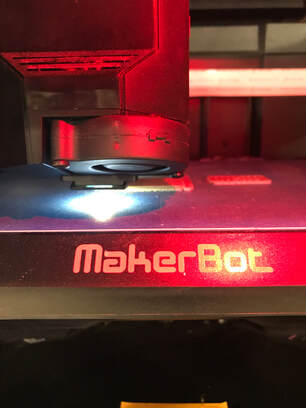
After the parts were created on the computer it was time to make them in the shop. I went in on the Thursday and put the two camera mounts on the 3d printer and had no problems with that.
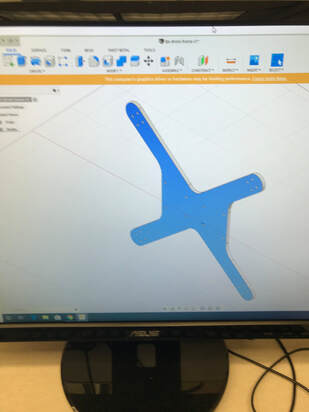
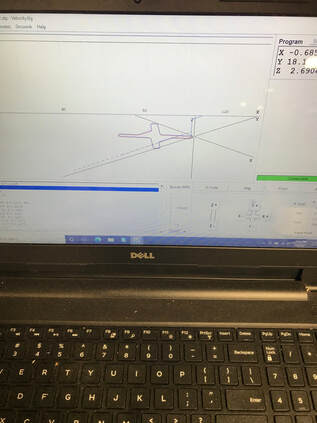
After the 3d printing I got to work in fusion 360. With a little help I got all of the settings right and was able to create a tool path.
|
This is a photo of the tool path, it looks like the part will cut out well but I ran out of time on that day.
|
|
|
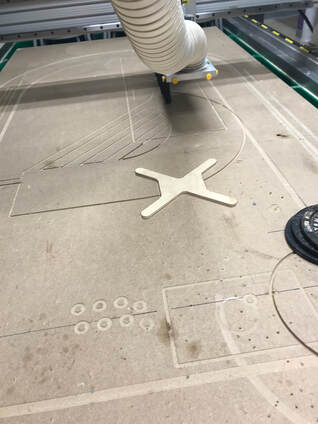
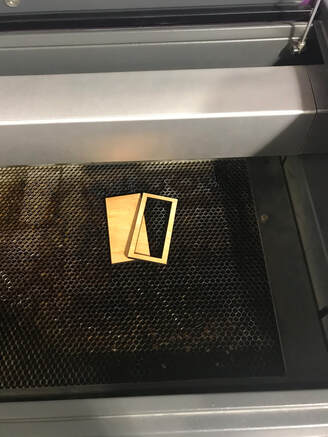
Then on Friday I got to work on the router I got the G code on the computer and got the wood screwed down. I didn't get any photos when it was cutting because if anything went wrong I needed to stop the router. The final product looked pretty good.
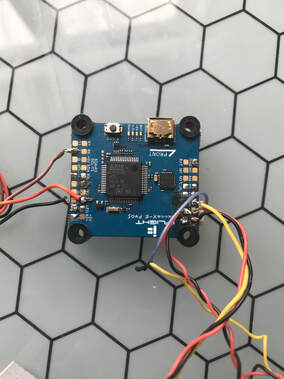
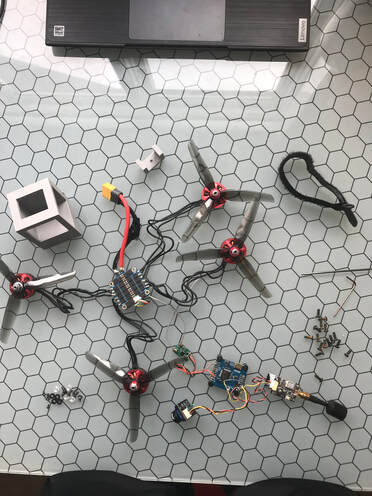
This is the flight controller, it is the brain of the drone. I tells the electronic speed controller what to do and how to stabilize the drone using a gyro. It can be set up using a program on the computer.
|
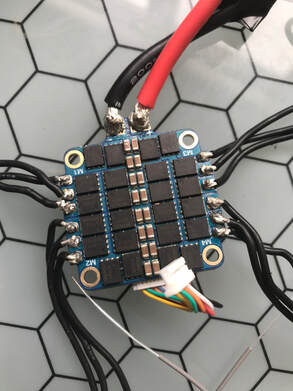
This is the electronic speed controller it determines the rpm of each motor. Each motor has three wires that you solder to the board.
|
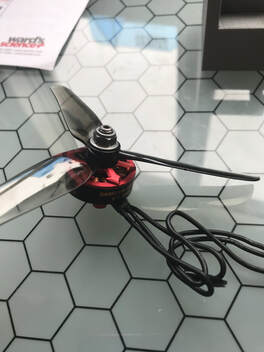
This is one of the motors, it spins a five inch propeller and allows the drone to have around a 8 to 1 power to weight.
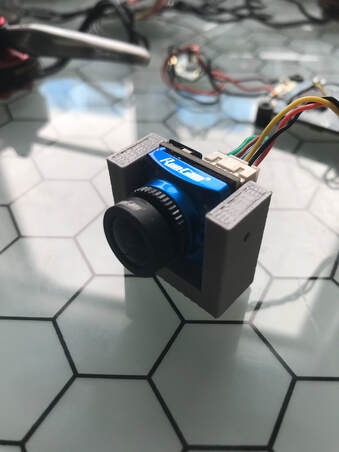
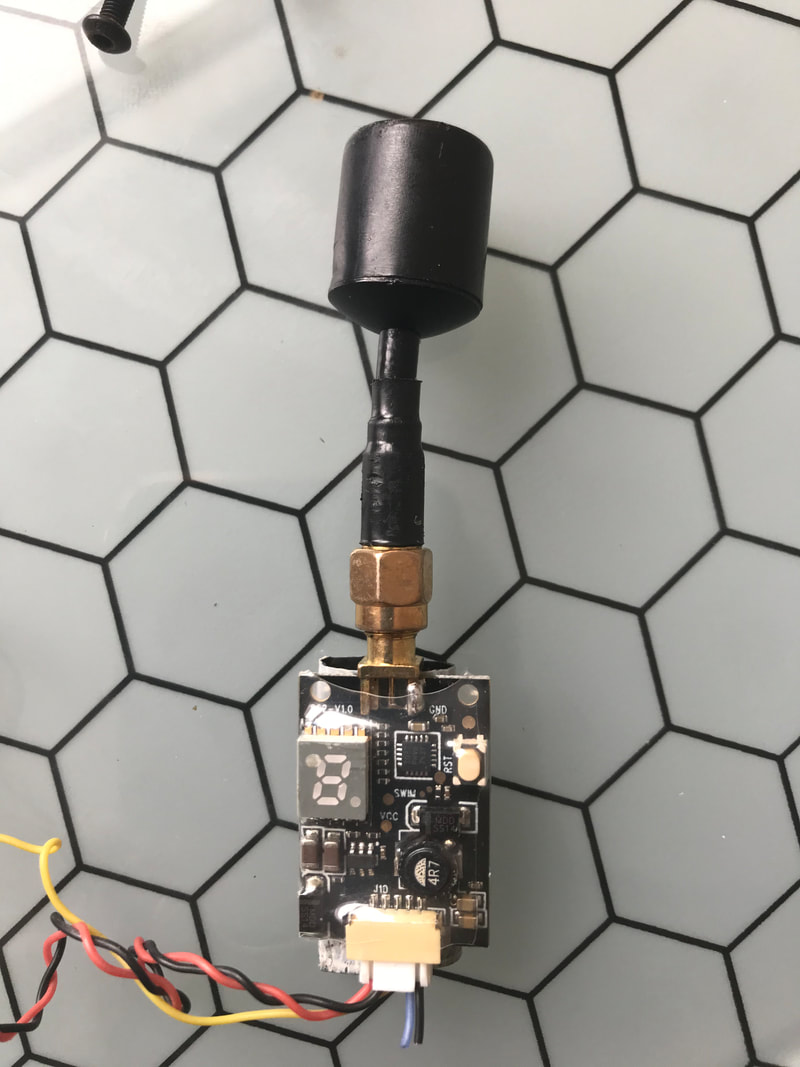
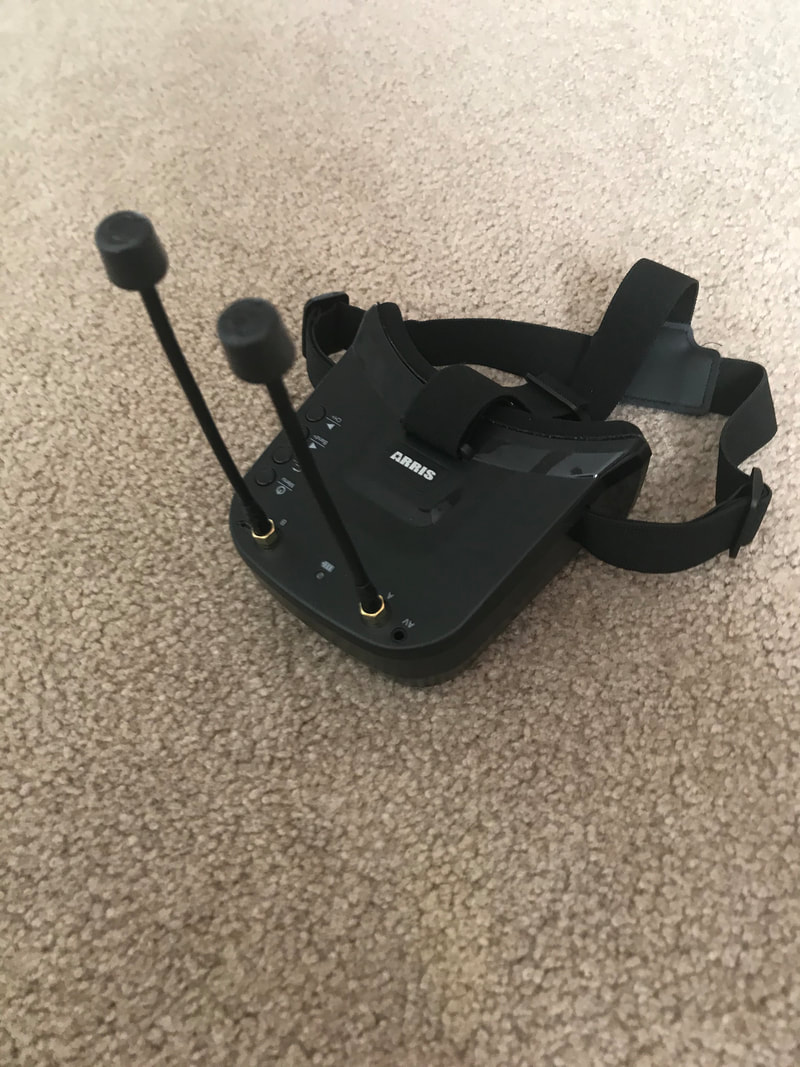
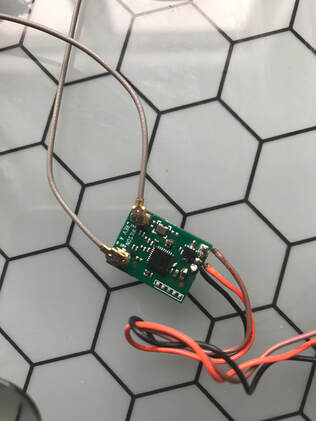
The next 3 photos are of the fpv camera, the video transmitter and the fpv goggles. The fpv camera is in the 3d printed mount that I made. The fpv camera sends a low quality video feed to the video transmitter. Then the video transmitter broadcasts that feed over 5.8 frequency Chanel to the goggles. The video feed is low quality because it allows the video to have very little latency which is very important to have good control.
|
|
|
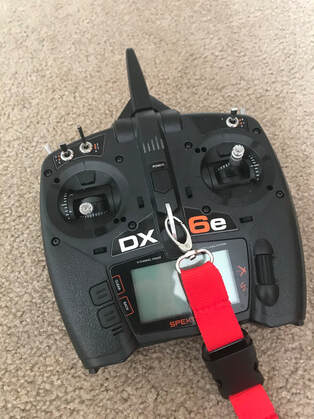
The two photos below are of the receiver and the transmitter, they allow the user to have control over the drone.
|
|
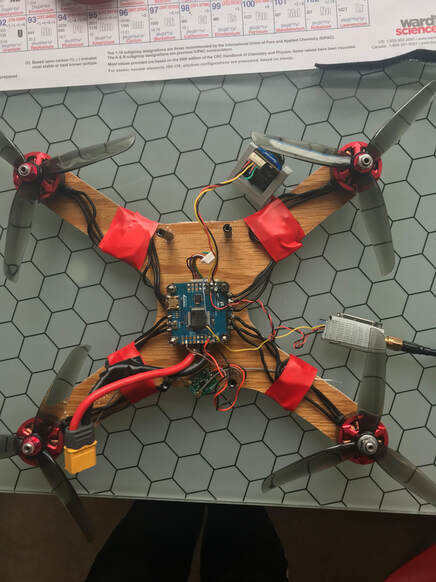
Now its time to put it together,I started by soldering everything up. It was a little challenge because some of the pads on the flight controller were pretty small but we made it work. After that put fiberglass on the frame and drilled the holes. then I put the motors and electronic speed controller on.
|
|
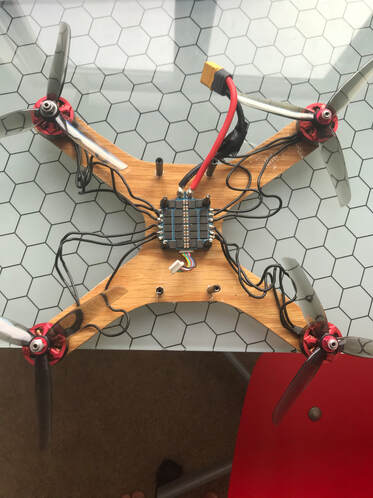
Next I mounted the flight controller, camera and video transmitter. Then I glued the gorpo mount on the top part of the frame and put the rest together.
|
|
|
The only thing left to do was to charge the battery and go give it a try. It took a few days and many crashes to get better at flying. I thought it was all over when I got the drone stuck at the top of the tree in my front yard. The drone was so high it was barley in sight after a few hours and vireos ways of getting it down my dad and I went to the store and got 50 ft of pvc pipe. We glued it together and using the branches as supports we managed to get it down without it breaking. Sadly the gopro wasn't on the drone at the time to capture the crash but I think I learned my lesson. After a few more flights I felt like I could make video that would wouldn't look half bad so I gave it a shot.
This is a link to a video of me flying the drone line of sight not in the goggles.https://youtu.be/ybplCTkMbLE
This is a link to a video of the drone flying with the gopro on it. https://youtu.be/ydAyx8GY3os
This is a link to a video of the drone flying with the gopro on it. https://youtu.be/ydAyx8GY3os
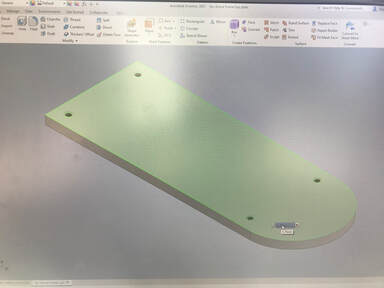
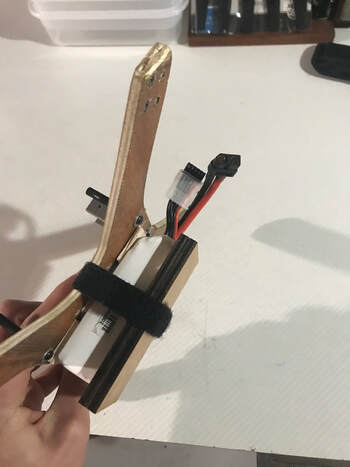
After all of this flying I noticed that the bottom of my batteries were getting scraped up. I chose to hop on the computer and make something to fix the problem. I created a wood plate for the bottom of the battery.


|
|
This semester I learned many things like how drones work and time management. Going into this project I didn't know much about FPV drones but this gave me the opportunity to learn something new. I started by watching you tube videos to get a basic understanding of all of the components and how they worked. But when I went online to order the parts I was surprised to see all of the different options and different brands of parts. Overwhelmed would be an understatement, I spent a few hours finding parts that would be compatibly with each other. This was such a challenge because there each component had a different size and power limit, in the end I did figure it out. I also learned how to fly a drone that dose not self level, this was a challenge but lots of fun. This brings me to the time management side of things, looking back on it I should have moved a little faster at the beginning of the year because it didn't leave me a lot of time to build it. I learned not to procrastinate from this.
